Let it Snow, and Chain up Tires in B.C.: Driver’s Education
Among the many skills you’ll never be taught in most Canadian truck driving schools is how to use tire chains. There’s little to no need to learn the skill anywhere in Canada except British Columbia. There, it’s required learning.
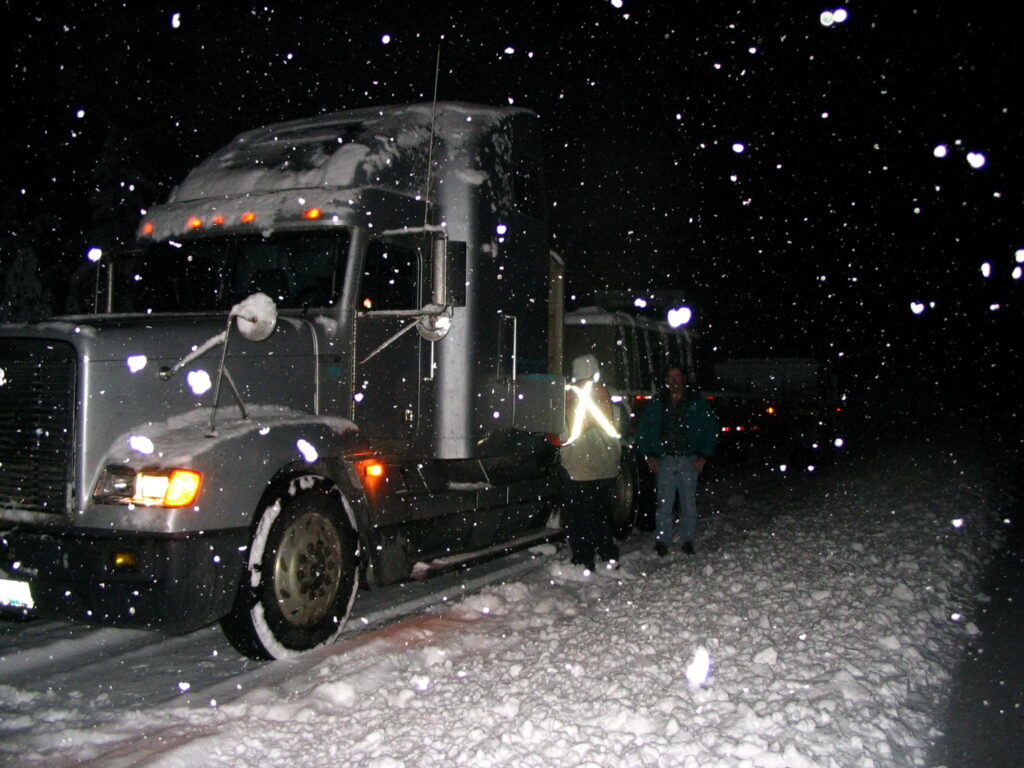
Like mountain driving or securing specialty cargo to a flatbed, chaining up is a special skill that only drivers working in those fields really need to know. However, there may come a time in any driver’s career that they wind up in a place where chains are required. Sitting at the bottom of a hill in a blizzard isn’t the time to log into YouTube for a quick tutorial video on chaining up — though that would be better than trying to figure it out on your own.
Mike Boultbee, an ICBC-licensed and certified driving instructor at Mountain Transport Institute in Castlegar, B.C. has nearly 40 winters of experience driving the province, and has chained up “hundreds of times”, and offered much of the guidance in this article.
Know the chain laws
B.C. is the only Canadian jurisdiction with tire chain requirements. Trucks with a gross vehicle weight of more than 11,794 kg (26,000 lb.) must carry approved chains on the truck from Oct. 1 to April 30.
Most bobtail tractors weigh less than that. But the regulation applies to the licenced weight rating, not the weight of the vehicle. And bobtail tractors are not exempted from the requirements.
Further, drivers there are required to use chains when roadside signage indicates they are required. That doesn’t absolve drivers from using common sense in any conditions that warrant the use of tire chains. Boultbee calls it a moral obligation for safety. If you think maybe you should put the chains on, then you probably should, he says.
But keep in mind that B.C. does not recognize traction aids such as tire socks or so-called “cable-chains” allowed in other jurisdictions.
U.S. states with chain requirements include Arizona, California, Colorado, Idaho, Montana, New Mexico, Nevada, Oregon, Utah, Washington and Wyoming. But one item you won’t find in any chain law is a requirement that drivers know how to use them, which Larry Hall of the North American Truckers Guild finds surprising.
“The regulation requiring commercial vehicle drivers to “carry” tire chains from Oct. 1 to April 30 is incomplete as it does not address driver competency, ability, or the willingness to install tire chains,” he says.
It was that very issue that pushed B.C. to reconsider its stated chaining requirements a few years ago. The changes came in the wake of a particularly bad winter, when what the province described as “unprepared” trucks caused 41 highway closures. “In some cases, this was due to the driver’s inability to install the chains properly,” notes B.C. Ministry of Transportation and Infrastructure.
Tire chain types
Traction devices can be broken into several categories.
Single chains are, not surprisingly, designed for one tire.
So-called triple chains are named for the three main chains that go around the tire, to which the cross-chains are attached: One on the inside, one in the center between the duals, and one on the outside. Triples are sometime referred to as “doubles”, probably because they cover two tires. Boultbee says the names are based in trucker slang. It’s no more scientific than that.
Off-road chains, meanwhile, are much more aggressive than on-road chains, and usually have more cross-chains. The cross-chains often have 6- or 8-mm studs or V-shaped bits of steel welded to the links for additional bite. These chains will wear much more quickly when used on pavement.
But on-road chains feature twisted- or square-link cross chains and are suitable for snow and ice on pavement. They come in different grades of steel for additional durability, although the quality varies with price. Drivers using chains infrequently will get similar performance from a less-expensive chain, but they won’t last. Prices range from about $200 for the lower-quality product up to $450 and higher for the top-of-the-line product that would be used daily.
Just keep in mind that cable chains are not recognized as traction devices for heavy trucks in British Columbia. They are permitted on some light trucks, and only some states allow them – sometimes in certain circumstances. Check the local regulations before you lay your money down.
Prepare and test in warm weather
Pre-need planning is a term often associated with funerals. While there’s no direct connection to tire chains, there could be. Figure this out some sunny Saturday afternoon in the fall wearing a T-shirt.
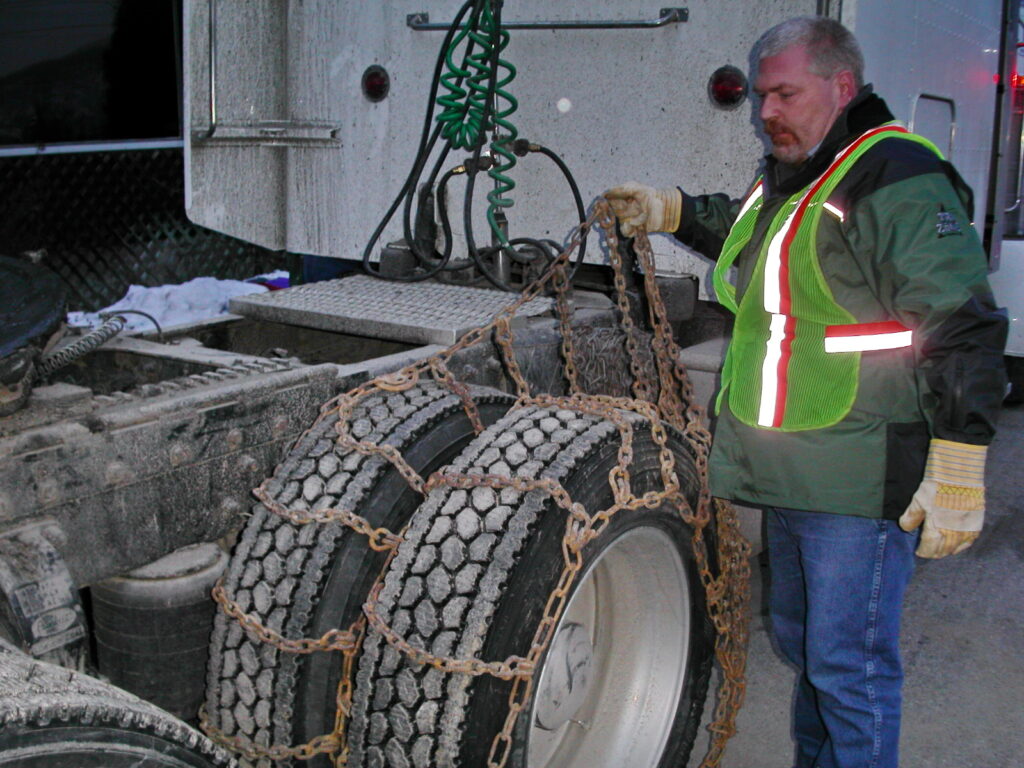
Pull the chains out of the bucket they’re stored in and inspect them. Make sure all the cross chains are intact, the cam tensioner works, and the connectors at the ends of the side chains — sometimes called “boomers” — are in good condition. Make sure you have a cam-tensioning tool as well.
Broken links can be easily repaired with a pair of chain pliers. But if the cross-chains are worn thin, you may want to consider replacing the entire set.
If you’re a company driver whose fleet supplies the chains, make sure they are the right size for your tires. Check them before you stow them on the truck. It won’t be the dispatcher or mechanic lying in a snowbank, struggling with a seized or damaged locking cam, or trying to put 22.5-inch chains on 24.5-inch tires.
Practice makes perfect
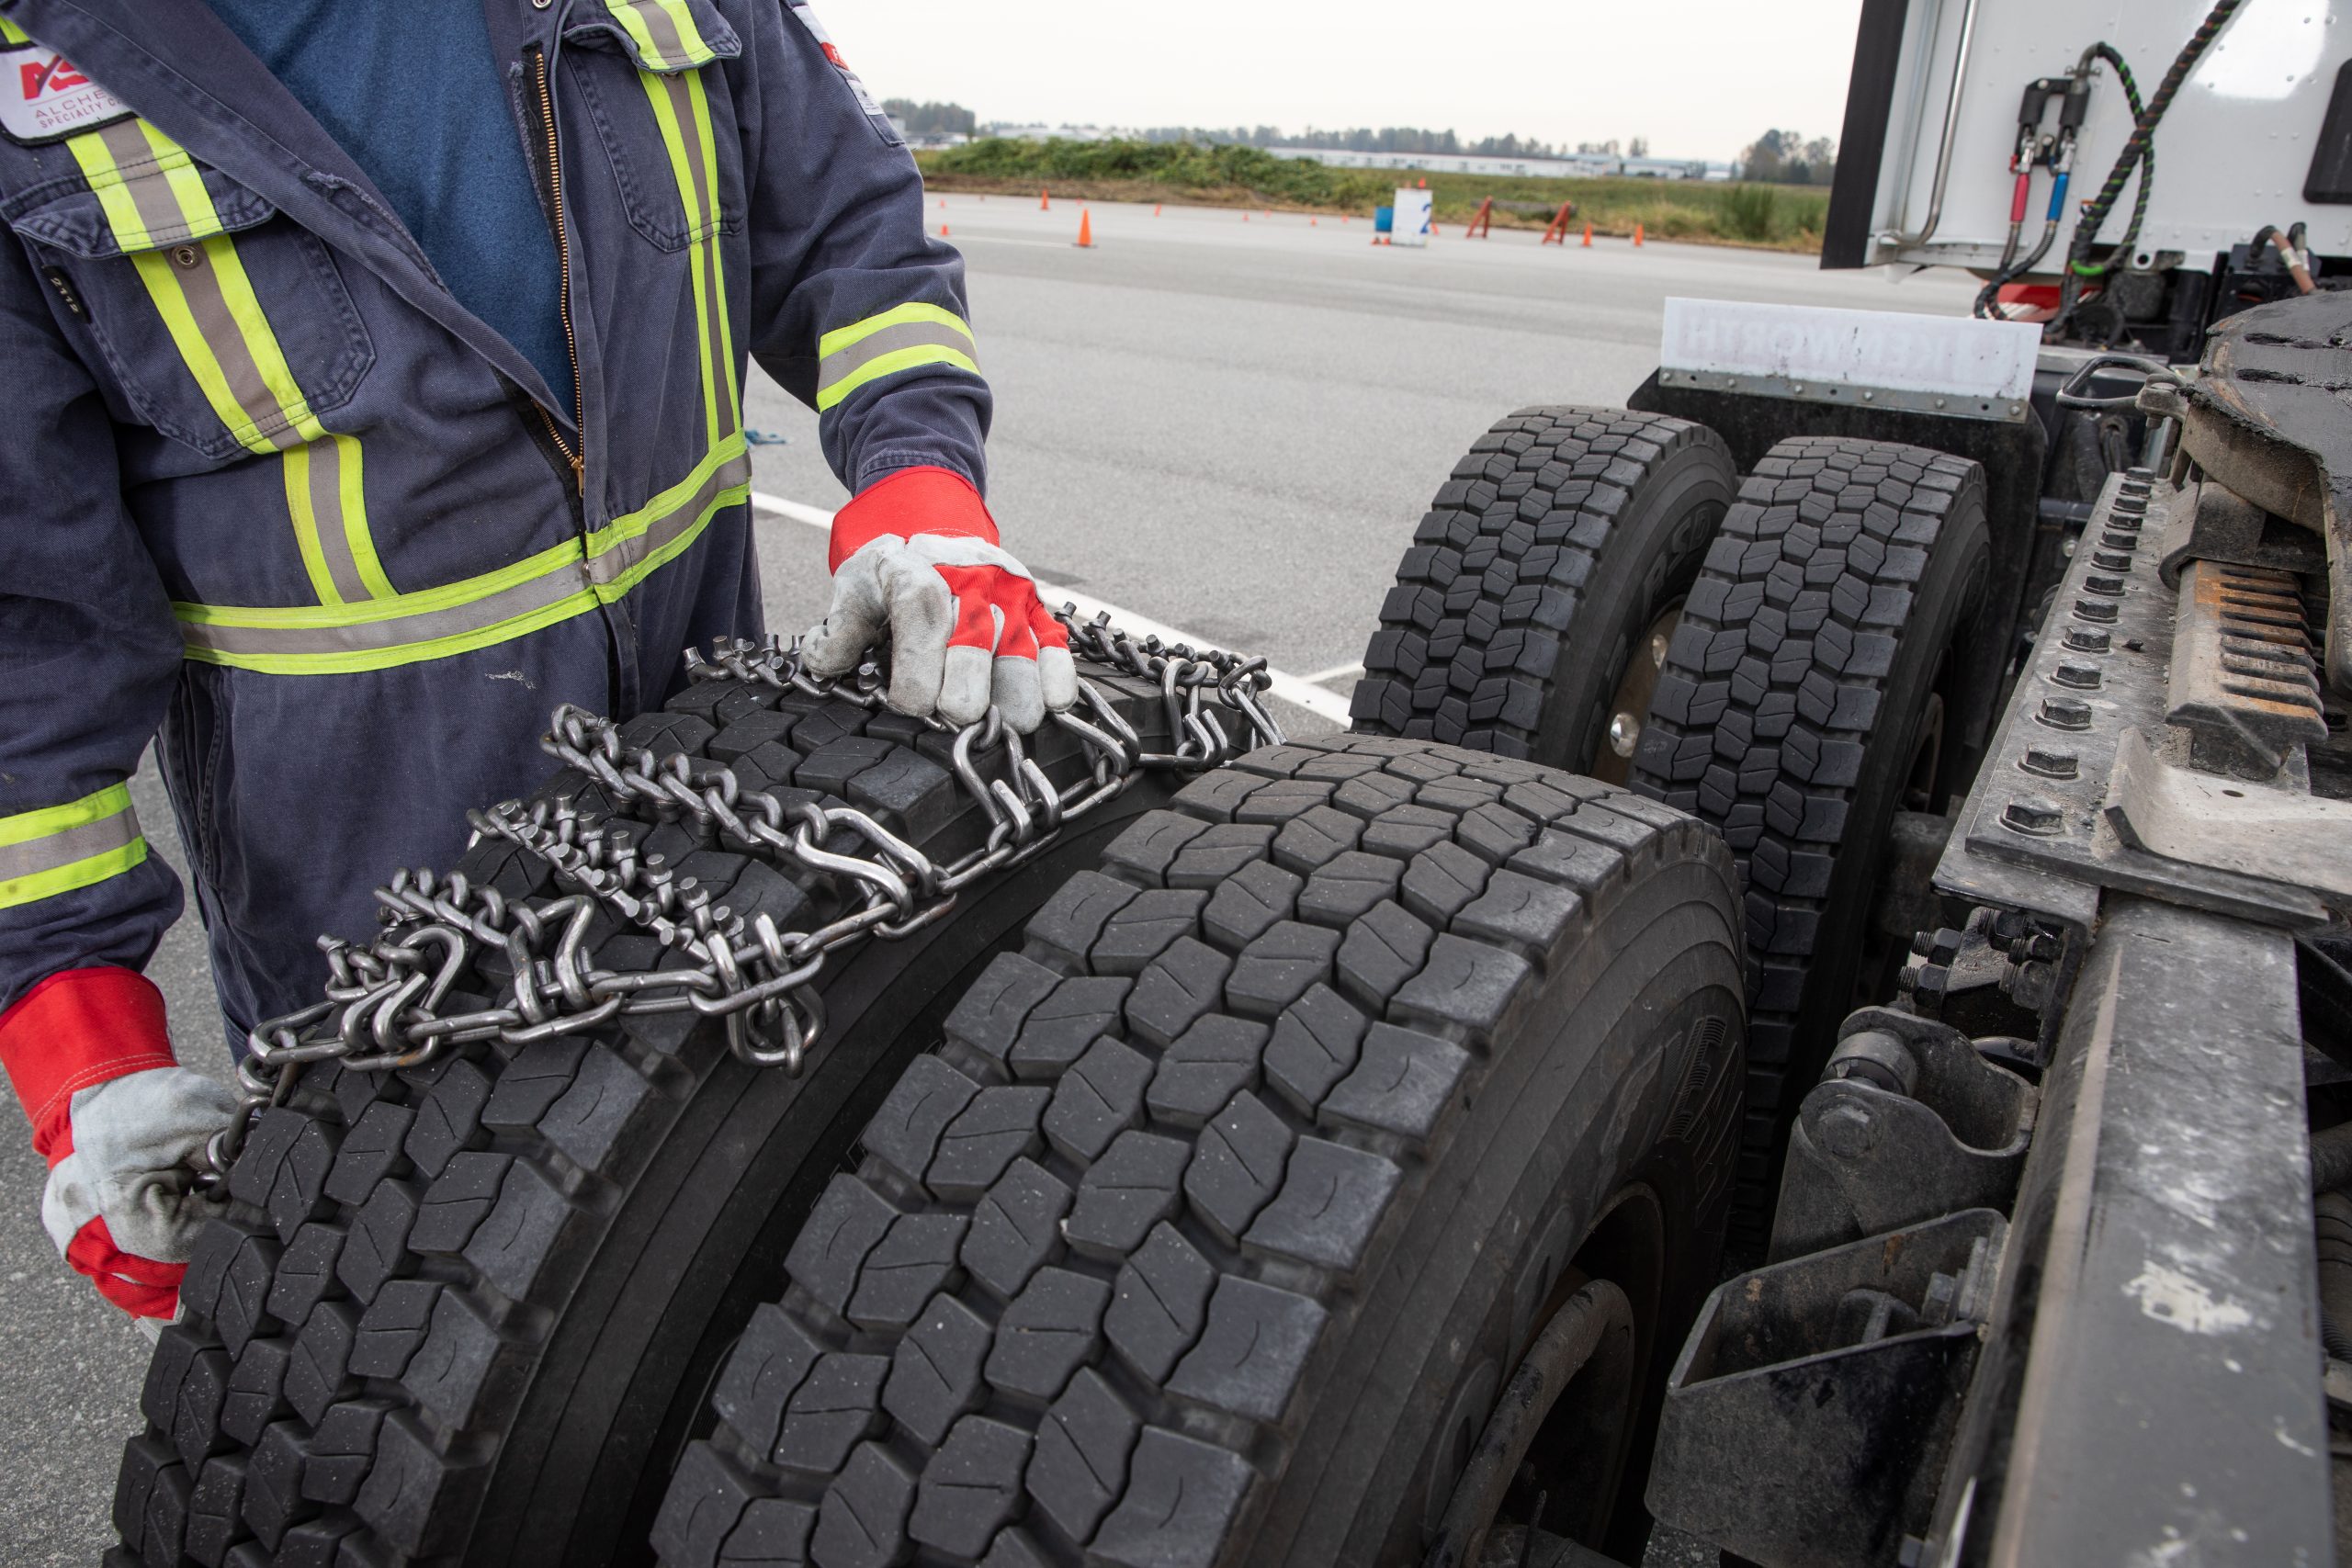
Start your practice installation by laying the chains on the ground alongside the drive tires, and centered lengthwise on the tire upon which you intend to place the chain. Watch for the following:
– some chains have cam tensioners on both side chains, while some only have them on one side chain. If there’s only one set of cams, they should be on the side chain furthest from the tire.
– remove the kinks or twists in the side- or cross-chains
– face the cross-chain hooks up, away from the tire, so they won’t damage the sidewall
With your hands about shoulder-width apart, grip the side chain closest to the tire near the center point of the chain. Lift it up and drape it over the tire, pulling the side-chain down over the inside sidewall. If you’re installing a set of triples, the side chain you’re holding goes over the inside tire. The center chain goes between the duals, and the outer side-chain drapes over the sidewall of the outside tire.
Here’s another option if you are installing triples: Once you have the set laid out properly, fold the inner half (closest to the tire) back over the outer half. Lift the folded chain onto the outer tire in the dual assembly, and then flip the folded section over the inner tire before adjusting them.
Adjust as follows:
– shuffle the chain across the tread face so the cross-chains are evenly spaced
– untwist any links that may have kinked while lifting the chains
– ensure the cross-chain hooks are lying flat against the sidewall, facing away from the tire
– ensure the cam tensioners are in the open position
– arrange the loose chain ends so you won’t drive over them when you roll the truck onto the chains
Get rolling
The next step is to roll the truck about a foot forward or backward over the chains so the two ends can be connected. Which way you go doesn’t make much difference, but Boultbee says there a few things to consider.
It’s best to release the brake and roll over the chain rather than powering over the chain. If you’re on a hill, roll downward a few inches.
And since you’ll be working close to the tire to connect the ends together and adjust the tightness of the chains, roll in the direction that will give you the most room to work – usually between the two axles. If there are quarter- or half-fenders on the truck, or the wheels are up close to the fuel tank or battery box, there will probably be more room between the axles.
Connect the ends of the chains with the clips, taking up as much as possible by hooking into the second or third link rather than the end link. Connect the inside chain on a single first, then the outside. For triples, connect the centre chain first, then the inside and finally the outside. Tighten further with the cam tensioners.
As tire chains will usually have four cam-type tightening devices, shuffle the chains around as you turn the cams to get them as tight as practical. Ideally you should be able to just barely slip your fingers between the cross-chains and the tread face.
Additional bungee straps can be used in a cross-pattern on the outside of the tire to take up any excess slack in the outer side-chain. This will add some tension to the inner side chain as well.
Before you head up the hill, roll a couple of hundred feet and then recheck for tightness. Adjust as necessary because floppy chain can damage the vehicle.
And bear in mind that if you’re installing chains in deep snow, they may not go on properly on the first attempt. Stop and check them after a few hundred feet and be prepared to readjust them.
Driving with chains
Driving with chains demands extra care and attention. You have to adjust some driving habits to accommodate the additional hardware.
Don’t drive faster than about 50 km/h. Centrifugal force can cause loose or unattached chain to strike the fenders and fuel tanks, causing considerable damage.
And be extra smooth with the throttle and the clutch. Avoid spinning the wheels. Use minimum power required to upshift. You may not be able to upshift on an upgrade, but at least you’re moving. Hard braking may still cause the vehicle to skid.
Here are some other factors to consider:
– Always set all the parking brakes when stopped, not just the tractor brakes.
– Always engage the inter-axle differential lock, sometimes called the power-divider, when driving with chains. This distributes the torque evenly to the front and rear axles, but still allows for differential slip between the right and left wheels. B.C.’s chain requirements always call for chains on the forward drive axle, sometimes on the second or third drive axle. Since the forward drive axle has beefier u-joints than the rear axle, they are better able to withstand the shock loading that can occur when using chains.
– Never use the differential locks on a downgrade. The differential lock prevents differential slip between the right and left wheels, sending torque to both right and left wheels simultaneously. To borrow an automotive term, it’s like posi-trac. With the interaxle-differential locked and the differential locks engaged, all four drive wheels are locked together. If you get a little bit of slippage, then everything slips, which can be dangerous when using high-torque engine brakes or applying the service brakes on slippery surfaces. Since most roads in the world are crowned, the slipping wheels will follow gravity and slide off the crown toward the shoulder, possibly resulting in a jackknife.
– If you’re on bare pavement between snowy areas, it’s advantageous to take the chains off to avoid ruining them. At $350 to $500 a set, they will usually last a winter or two of you look after them.
– Carry chain pliers and spare cross links.
– If you feel you’re in over your head, park and wait it out.
Monitor the weather
While mountains pose obvious challenges to traction, they also impact the weather conditions. While it may be raining where you are at a lower altitude, it could well be snowing at the top of the mountain pass ahead of you. Tire chains are great when there is at least a few inches of snow on the ground, but when the road is lightly covered and wet, steel chains can be quite slippery on asphalt.
If you know it’s snowing at higher altitudes, chain up while it’s safe to do so and begin the climb carefully. Check the weather reports often, and remember, it’s always better to chain up early rather than late. And of course, you always have the option to park and wait for more suitable conditions.
A few words on winter tires
It’s not uncommon for carriers operating in British Columbia to switch to high-traction winter tires when the snow starts flying. At the same time, we see longhaul highway carriers from the east arriving with the closed-shoulder, low-rolling-resistance fuel efficient tires, often with half to three-quarters worn tread.
Those tires really aren’t suitable for driving in snow. They will often get stuck on level ground in parking lots as tires that are warm from running on the highway melt into hard-packed snow when the truck is parked for a brief spell.
Tires with tightly packed tread blocks and closed shoulders have no way to evacuate the snow from between the treads. This results in a tire with a very smooth surface, especially when the snow is cold and dry.
“Deficiencies in tire tread tend to haunt the industry during the winter season,” says NATG’s Hall. “Tread depth that is deemed to be ‘legal’ and tread lugs with far too much surface area don’t provide adequate traction on snow or ice.”
In all likelihood, you won’t be able to convince your boss to infest in a set of snow tires for a trip to the west coast, but at least inspect the tires before you leave to make sure they are up to the challenge of B.C. winter.
We have many seasonal driving resources available to download for free like our How To Put On Chains poster and articles like Be a Pro on Ice and Show.
Latest Resources

Driving Safely Through BC’s Summer Season
Summer can be one of the busiest and most demanding seasons for commercial drivers in ...

Prevention Is the Best Protection: Sun Safety for Warmer Days
It may not feel like summer just yet, especially after a cold and rainy stretch of sp ...